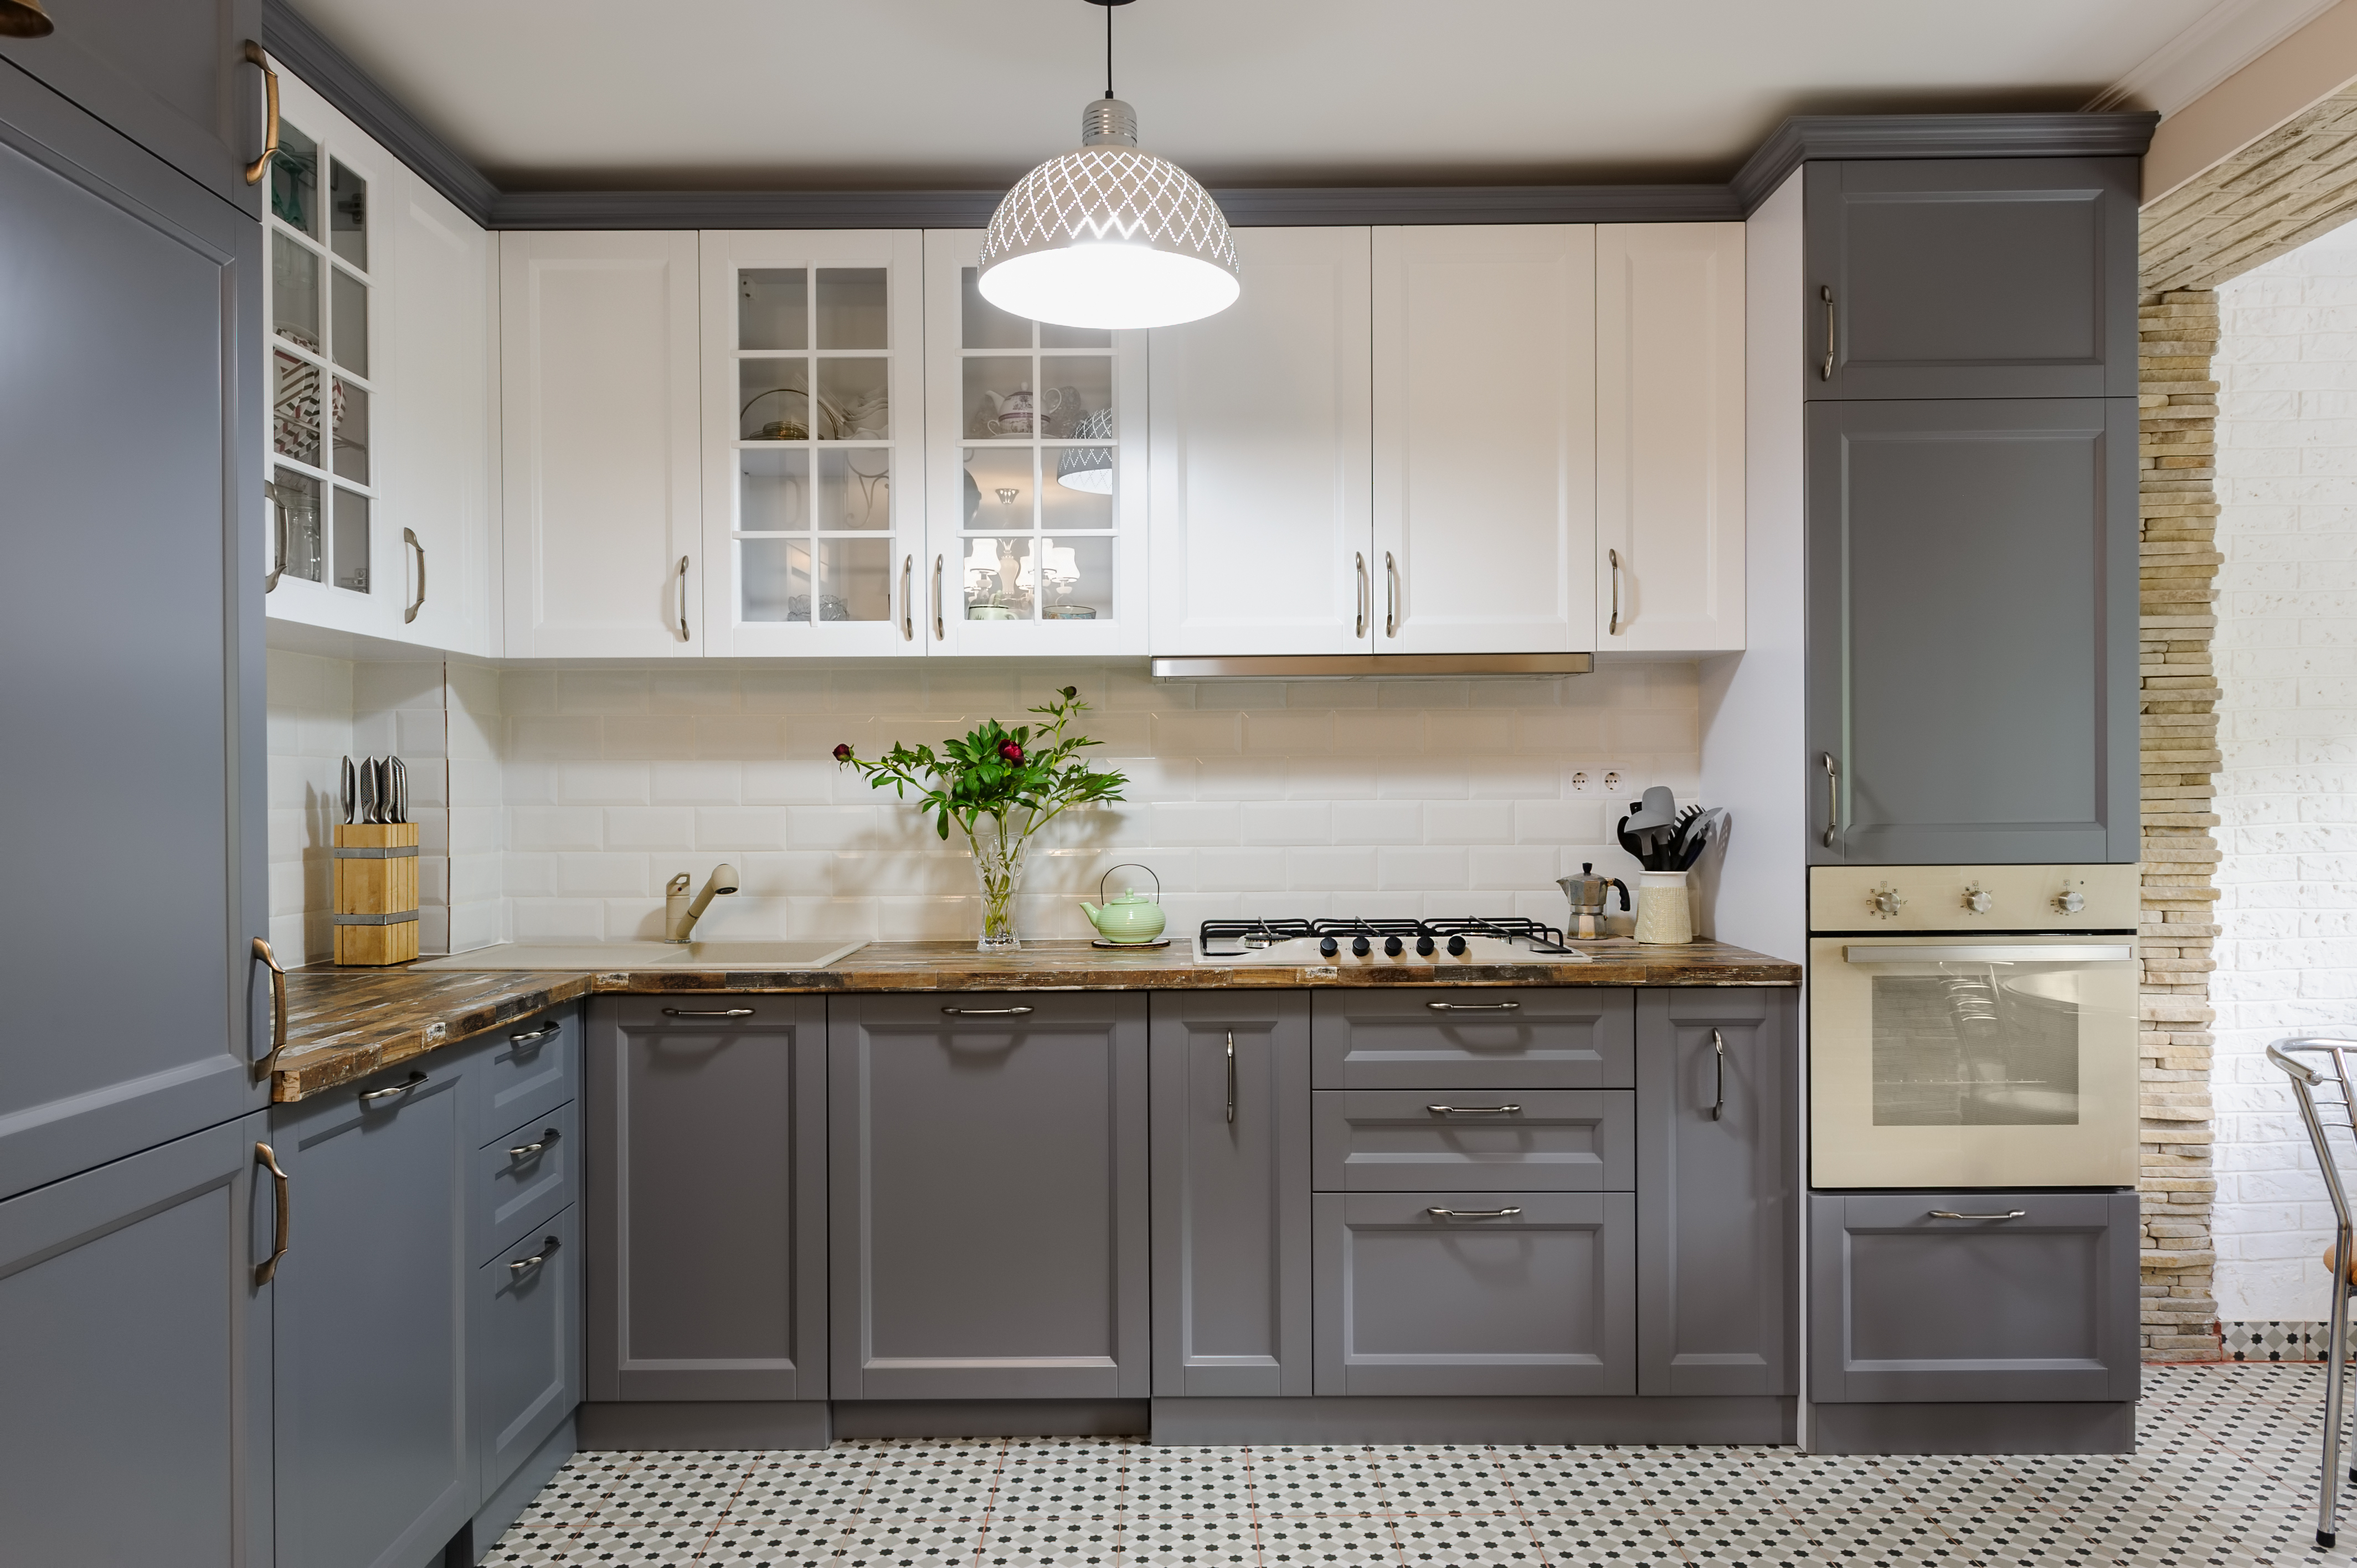
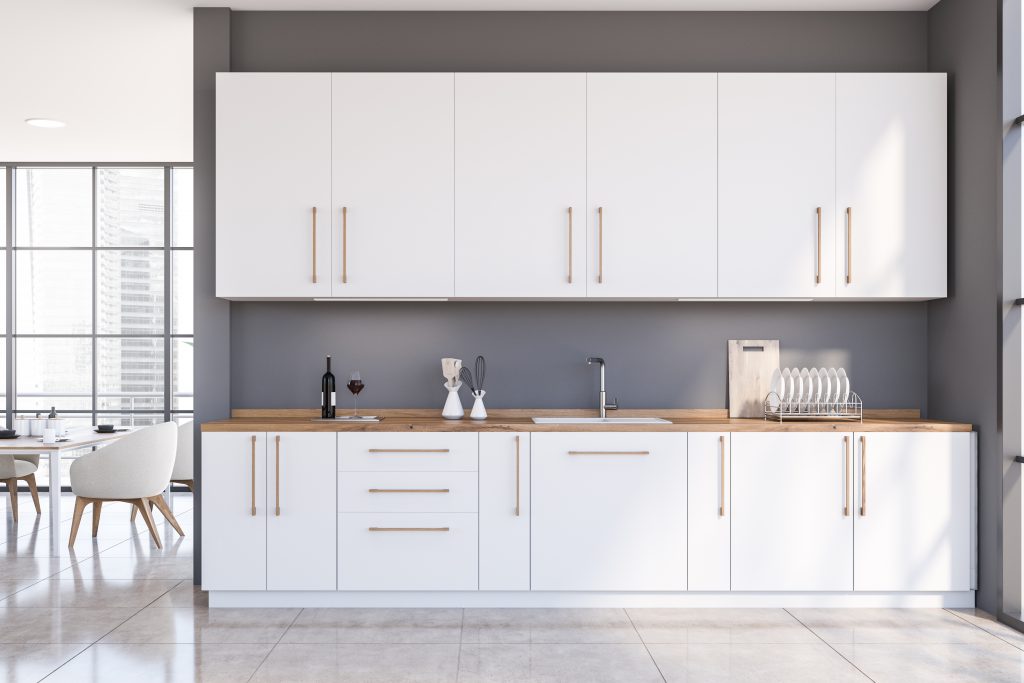
A new kitchen is a substantial investment of both time and money. So if you are looking to achieve a room refresh without doing a total renovation – we have the perfect solution. Paint your kitchen cupboards – simple, incredibly effective and budget-friendly.
This is what you’ll need:
- Kitchen cleaning detergent
- Masking Tape
- Paintbrush
- Roller
- Kitchen Cupboard Paint
- Screwdriver
- Newspapers or old sheets
Get Prepped
Start by removing your kitchen cupboards from the hinges. While it may seem tempting to paint them in-situ, you are more likely to get drips and spills which will result in a messy finish.
Most doors simply unclip at the hinges, so they can be removed relatively quickly. Handles should also be unscrewed. Use masking tape where the cupboard carcass meets the wall so you get a lovely crisp edge.
Lay newspaper or old sheets to protect floors and surfaces before you go any further!

Clean Up
Next step is to make sure the cupboard surfaces are clean. Kitchen cupboards get covered in cooking grime, so use a kitchen de-greaser to make sure you remove all the build-up. Dry them off afterwards with a towel.
Picking Your Paint
In terms of colour – there are a variety of options to go for. White, or grey remain the most popular choices – bringing light to your kitchen space. Darker colours such as blue and green have been trending over recent years – bringing a designer edge to your kitchen.
Matt or Chalk paints work well with these stylish darker colours. The only downside is that they are not as durable as other paint finishes so will be more susceptible to chips and smears.
Semi-gloss and gloss paint colours are a perfect choice for kitchens because they are extremely hard-wearing, with a scrubbable finish that is ideal for high-traffic spaces.
‘Multi-purpose’ paints are also available which means they can be used on walls, ceilings, wood and metal – these are a great choice for smaller spaces where only a few paint tubs are needed.
Applying The Paint
Sanding and adding paint layers will take some time – so don’t try to speed through this step in an afternoon.
We recommend lightly sanding your cupboards before applying the paint so that it gets a good grip; brush away the dust and vacuum up the debris. You do not want to risk any small particles getting stuck to the paint causing an uneven finish.
Start with a primer coat and wait 24 hours before applying a second coat. Finally you can apply your chosen paint colour and finish – you will likely need a couple of layers to get the right result. We like to use a brush around fiddly edges and a foam roller for the rest to get an even finish.
Make sure everything is completely dry before returning your kitchen back together again. Add new handles to get the final upgrade!

What colour are you going to use? Let us know in the comments below!


Leave a Reply