Start small with a bath board
Bathrooms are often small, dark and dull but they needn’t be! Transform any space into a relaxing oasis by adding statement pieces to give it a special touch.
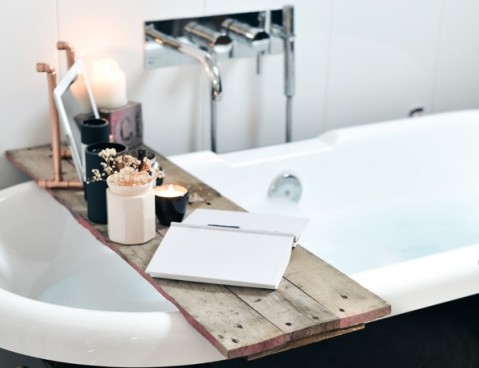
Incorporating reclaimed wood is a perfect way to do this with style, as it brings a warm, timeless and casual feel and fortunately, it’s usually a cost effective and easy material to find and work with. Why not start with something small like a bath board?
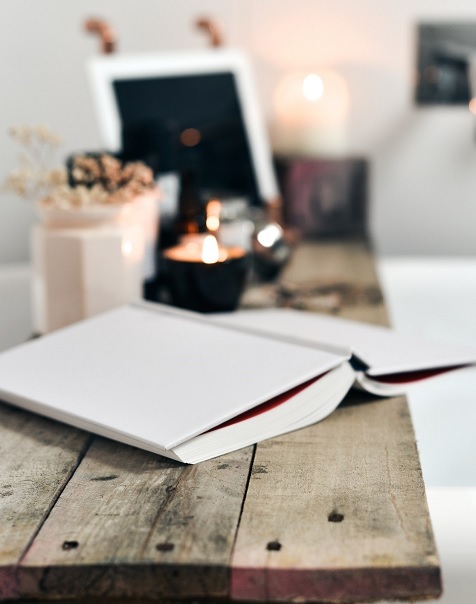
Since making my bath board, I can’t actually understand why I’ve never made one before, especially as it really was so simple to create!
It also means I have all my stuff at hand, so I can lay back and enjoy some me time (even if it is for just ten minutes). Here’s how you can make your own bath board to add style and convenience to your bathtime bliss…
You will need :
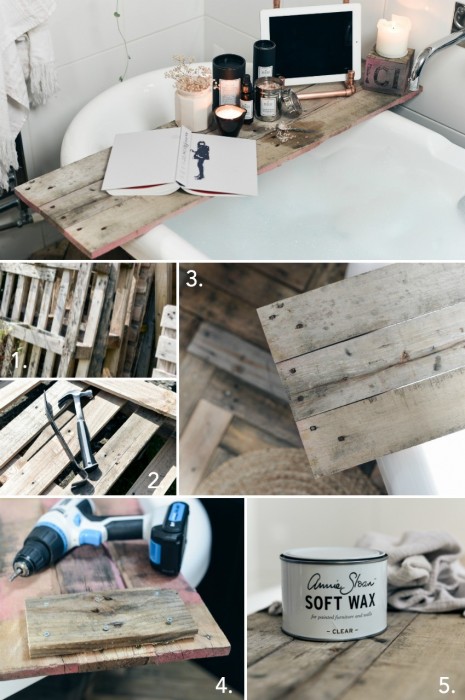
- 4 x wood boards (old pallets are perfect for this (image 1.) – keep an eye out on the roadside or in skips near building works (always ask permission to take first), visit a local storage or shipping yard, or check out sites like GumTree for free ones). Note: If you’re using old pallets, a pallet picker & hammer (image 2.) will be the swiftest & easiest way to separate the boards.
- 12 x self tapping screws
- 1 x screwdriver
- 1 x saw
- wax or wood varnish
Method :
- Once you have your boards, place three across your bath, checking that they line up nicely & whether you will need to shorten them (image 3.)
- Cut the fourth board to make two smaller sections that fit across the three boards. This will be what secures the boards together & keeps the finished item from slipping.
- Cut the boards to the width of your bath allowing overhang for the fixing pieces. If you don’t have much space either side of your bath, you can secure the fixers to sit against the internal edge of the bath, just ensure you cut the main boards wide enough to sit comfortably on the rim.
- Realign the boards & screw on the fixing pieces using two screws per board (image 4.)
- Finally, wax or varnish your board to protect it from steam & water splashes (image 5.)
Fancy flooring
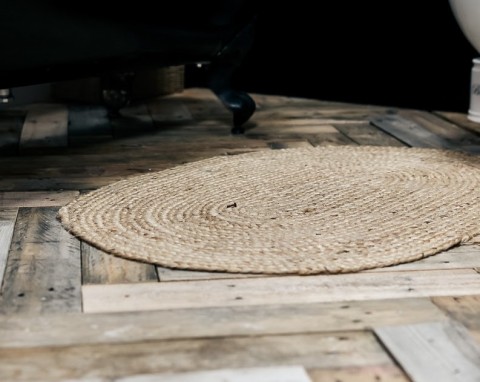
Pretty simple right? There are so many other possibilities for using old shipping pallets in your bathroom or home too… like updating your flooring with them.
You may think this sounds like a dubious project, but I promise it’s doable! It’s taken a lot of work so far & it’s not quite finished but it’s been worth it. From a work in progress…
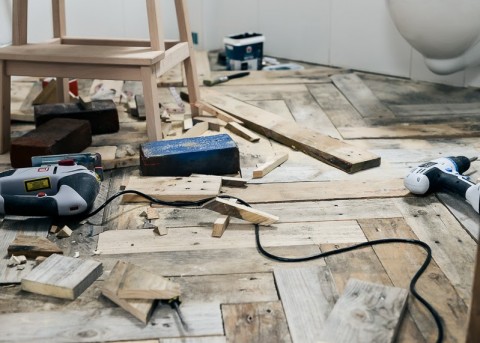
To an almost finished flooring…
All you need are the same tools as the bath board and a lot of time & patience. I just need to seal the wood and finish the edging now!
Simple storage
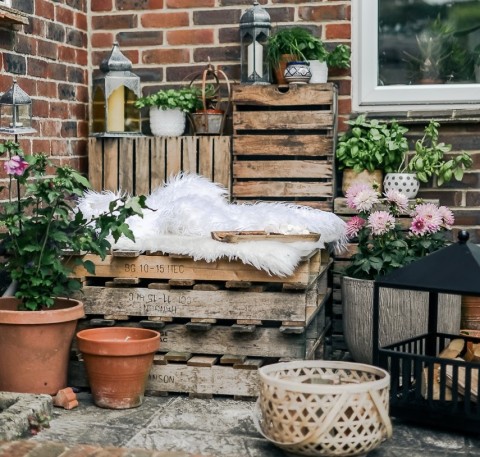
If you have some spare pallets at the end of all your projects, you can create storage shelves, a towel ladder, or even a garden retreat with them :
If you’re still lacking space, or need extra room to store your latest projects, why not look to a temporary storage unit?
Shurgard offers you extra room in its secure storage facilities with a range of unit sizes for long or short term use, secure access seven days a week and plenty of locations, it’s a pretty perfect option.
So, now you’ve got some beautiful & practical storage, a great floor, and somewhere to chill out; it’s time to run yourself a well deserved bath, and take a nice relaxing soak with all the essentials at your fingertips, enjoy!


Leave a Reply